
Quick Answer
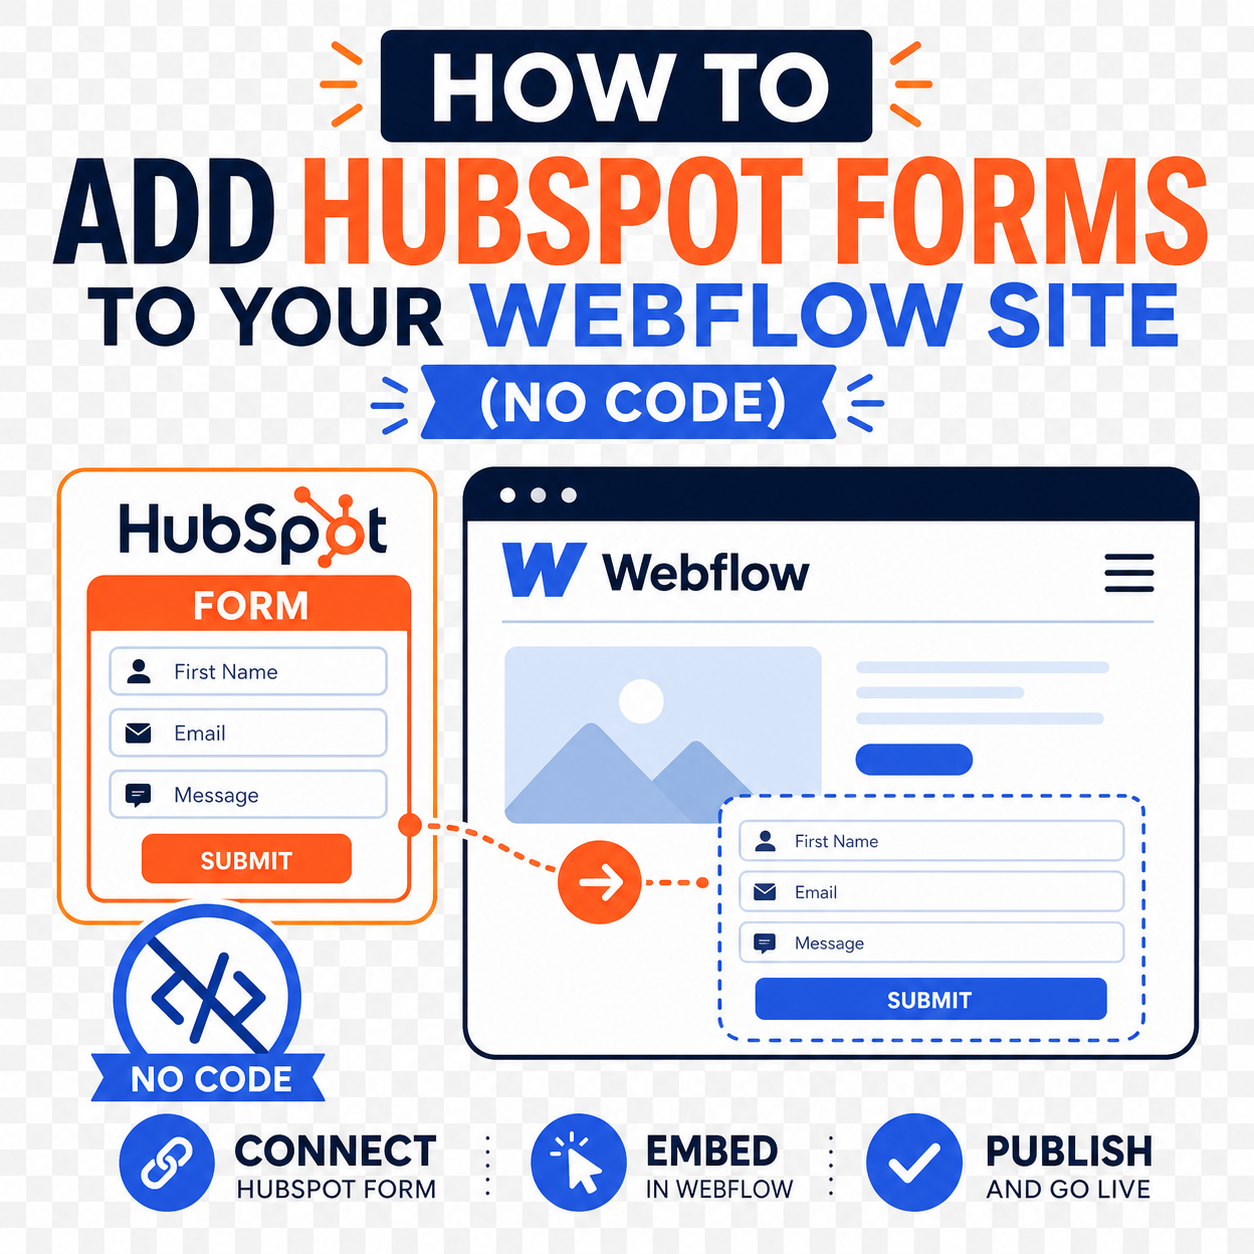
Yes. You can add HubSpot forms to a Webflow site without writing any code. There are three practical routes: install the HubSpot app from the Webflow Apps marketplace, paste your form's embed code into a Webflow Embed element (submissions post directly to HubSpot and, per Webflow's documentation, don't count toward site-plan form submission limits), or map a native Webflow form to HubSpot. Whichever you pick, install the HubSpot tracking code for analytics and lead intelligence.
Key Takeaways (TL;DR)
- What is it? Three no-code ways to connect HubSpot forms to Webflow: the HubSpot app, the embed code in an Embed element, or field-mapping a native Webflow form.
- Fastest route: paste the embed code into an Embed element: minutes per form.
- Most integrated route: the HubSpot app: it also handles mapping, tracking, assets, and chatbots.
- Requirements: a HubSpot account (forms are available on all HubSpot plans) and, for Embed elements or custom code, a paid Webflow site plan.
- Best for: marketing and RevOps teams who want website leads in HubSpot CRM without a developer or CSV exports.
- Bottom line: each submission creates or updates a HubSpot contact in real time, where workflows and lead routing can act on it immediately.
What Are Your Options for Adding HubSpot Forms to Webflow?
Webflow is where many teams design their marketing sites; HubSpot is where they want the leads. Between the HubSpot app in the Webflow Apps marketplace and HubSpot's own embed options, connecting the two takes an afternoon, not a developer. Here's how each route works.
Route 1: Install the HubSpot App from the Webflow Apps Marketplace
The app is the most integrated option: embed and style HubSpot forms on the Designer canvas, map existing Webflow forms to HubSpot, add HubSpot assets and chatbots, and manage site tracking: all without leaving Webflow. Webflow publishes a quick-connect guide for the integration.
To install and authorize:
- Open the HubSpot app detail page in the Webflow Apps marketplace and install it.
- Choose the specific Webflow site to connect: the app connects to individual sites, not an entire Workspace.
- Review the requested permissions and click Authorize App.
- Select your HubSpot account, click Choose account, then Connect App.
- In the Designer, open the Apps panel, hover over the HubSpot app, and click Launch.
To embed a form through the app:
- Click Add existing HubSpot form to your page.
- Select the element on the canvas where the form should appear.
- Choose the HubSpot form.
- Decide whether to inherit the form's HubSpot styling or use an unstyled version you can style in Webflow.
- Click Add Form to Page, then publish.
Two notes from Webflow's app documentation: certain HubSpot fields (reCAPTCHA, for example) aren't supported by the direct embed: paste the form's Share URL into the app's HubSpot Share URL field to embed it as an iframe instead. And HubSpot-side edits don't always sync to app embeds automatically; re-add the form, or use the iframe method, which reflects edits instantly.
Route 2: Paste the HubSpot Embed Code into a Webflow Embed Element
The fastest route when your form already exists in HubSpot. HubSpot generates an embed code for every form: see its guide to styling and embedding HubSpot forms on an external site.
Copy the embed code from HubSpot:
- In HubSpot, navigate to Marketing > Forms.
- Hover over your form and click Edit.
- Click Review and update, then Update.
- In the dialog box, click Get embed code.
- On the Embed code tab, click Copy.
Add it in Webflow:
- Drag an Embed element onto the canvas where the form should appear.
- Paste the embed code into the element's code editor and save.
- Publish, Embed elements don't render in the Designer preview or on unpublished pages, so verify on the live site.
This route has an operational advantage: per Webflow's documentation, submissions to embedded HubSpot forms bypass Webflow servers and don't count toward site-plan form submission limits: meaningful for high-volume forms. One plan note: the Embed element is a custom-code feature requiring a paid Webflow site plan; on a free plan, start with Route 1 or 3.
Route 3: Map a Native Webflow Form to HubSpot
When a form is already built and styled in Webflow, rebuilding it in HubSpot means losing the design. Mapping solves it: the Webflow form stays as designed, and the app sends a copy of each submission to HubSpot.
- Launch the HubSpot app from the Designer's Apps panel.
- Click Map Webflow form to HubSpot form.
- Select the form on the canvas.
- Confirm every field has a field label: unlabeled fields can't be mapped.
- Choose the matching HubSpot field for each Webflow field.
- Click Save, then publish.
Standard inputs map cleanly. Webflow documents the compatible pairings:
| Webflow field type | Corresponding HubSpot field type |
|---|---|
| Plain text | Single-line text, multi-line text, paragraph, date |
| Single-line text | |
| Phone | Single-line text |
| Number | Number, single-line text, multi-line text |
| Radio button | Radio |
| Checkbox | Single checkbox |
| File upload | File |
| Text area | Multi-line text |
| Select | Dropdown |
The trade-off: mapped submissions post to Webflow first and a copy goes to HubSpot, so they do count toward your site plan's form submission limits. Mapping to HubSpot password fields isn't supported. Manage connections from the app's Connected forms menu (open the form's page first: connected forms only appear there).
Don't Skip the HubSpot Tracking Code
Whichever route you choose, the tracking code turns a working form into a measurable one. It powers analytics on embedded forms (HubSpot requires it on the page to track views and submissions), attaches lead intelligence (which pages a contact visited around converting), and enables non-HubSpot forms capture: HubSpot automatically collects submissions from other forms on your site, stored under each Webflow form's ID. You can disable that in HubSpot's form settings, but it's a useful safety net for forms nobody remembered to connect.
Install it through the app (Manage site tracking > toggle Enable HubSpot site tracking code on > save > publish) or paste it into site-wide custom code. One easily missed step: add your site's domain in HubSpot's tracking settings. Per HubSpot's documentation, submissions from unadded domains can be flagged as spam.
How Do You Style a HubSpot Form to Match Your Webflow Site?
Forms embedded via the app or the standard embed code are styled in HubSpot's form style editor: open the form, click the styling icon, and customize fields, labels, buttons, headings, background, and progress bar. Updates flow to your live site without republishing Webflow (with the app embed, re-add the form or use the iframe method for instant sync). Chose the unstyled app embed? Style the form on the Webflow canvas like any other element.
For granular CSS control in an external stylesheet, HubSpot offers a developer code (advanced) embed, but it requires a Marketing Hub or Content Hub Professional or Enterprise subscription, and HubSpot recommends a developer for it. For most teams, the style editor plus Webflow's native styling is enough; if brand standards demand pixel-level control, Route 3 sidesteps the issue entirely.
Which Method Should You Choose?
| Your situation | Best route |
|---|---|
| Fastest setup; the form already exists in HubSpot | Route 2: embed code in an Embed element |
| HubSpot-managed styling, assets, chatbots, and tracking in one place | Route 1: HubSpot app |
| Many forms or planned marketing automation around them | Route 1: HubSpot app |
| Pixel-perfect, Webflow-native form styling | Route 3: map your native Webflow form |
| High submission volume; watching Webflow site-plan form limits | Route 1 or 2: embedded HubSpot forms bypass Webflow processing |
| Free Webflow plan | Route 1 or 3: Embed elements require a paid site plan |
Common Pitfalls to Avoid
- Forgetting the tracking code. The form works without it, but you lose analytics, page-view intelligence, and non-HubSpot form capture.
- Not adding your domain in HubSpot. Submissions from domains not added to HubSpot's tracking settings can be flagged as spam.
- Testing the embed before publishing. Embed elements only render on the published site. A blank spot in the Designer preview doesn't mean the code is broken.
- Confusing the two submission paths. Embedded HubSpot forms don't count toward Webflow's submission limits; mapped Webflow forms do.
- Double-capturing the same form. If you map a Webflow form and HubSpot's collected-forms capture picks it up via the tracking code, you can get duplicates. Use one capture method per form.
- Expecting instant style sync with the app embed. HubSpot-side edits don't always propagate automatically; re-add the form in the app, or embed via the Share URL iframe for instant reflection.
What Happens After Someone Submits the Form?
The moment a visitor submits, HubSpot creates or updates the contact, no CSV exports, no leads sitting unnoticed in a Webflow dashboard. From there, what you've built in HubSpot fires: a workflow sends the follow-up email, lead routing assigns the right rep, and lead scoring starts accumulating. If you collect consent, align the form's language with current requirements: our guide to HubSpot lead generation compliance covers the details.
Want Your Website Feeding a CRM That Actually Follows Up?
Connecting a form is the easy part. The workflows, routing rules, and nurture programs behind it are where results come from. Vantage Point designs and implements HubSpot marketing automation end to end. Senior consultants only: no junior handoffs. Explore our HubSpot Marketing Hub services or see how we approach CRM and marketing automation, and contact Vantage Point to talk through your setup.
Frequently Asked Questions
Do I need to know how to code to add a HubSpot form to a Webflow site?
No. All three routes are no-code: the HubSpot app embeds and maps forms through a point-and-click panel, and the embed-code route is copy-and-paste into a Webflow Embed element. The only genuinely technical option (HubSpot's developer embed code for advanced CSS styling) is optional, and HubSpot itself recommends a developer for that path.
Do HubSpot form submissions count against Webflow's form submission limits?
It depends on the method. Per Webflow's documentation, submissions to HubSpot forms embedded on your site post directly to HubSpot, bypass Webflow servers, and do not count toward your site plan's form submission limits. Submissions to native Webflow forms that are mapped to HubSpot post to Webflow first, so they do count toward those limits.
Can I style a HubSpot form to match my Webflow site's design?
Yes. Use HubSpot's form style editor to set field, button, font, and background styling, and changes flow to your live site. If you embed through the HubSpot app, you can also choose an unstyled version and style it directly on the Webflow canvas. For pixel-perfect control, map a native Webflow form instead: the design stays entirely in Webflow.
Does adding a HubSpot form to Webflow work on all plans?
On the HubSpot side, forms are available on all products and plans, though the advanced developer embed code requires a Marketing Hub or Content Hub Professional or Enterprise subscription. On the Webflow side, the Embed element and other custom-code features require a paid site plan. Check your current plan details on both platforms before choosing a route.
Why do I need the HubSpot tracking code on my Webflow site?
The tracking code powers analytics on your embedded forms, attaches page-view history to contacts for lead intelligence, and enables HubSpot to capture submissions from non-HubSpot forms across your site. You can install it through the HubSpot app's site tracking toggle or by pasting it into your Webflow site's custom code settings.
What is the difference between embedding a HubSpot form and mapping a Webflow form?
Embedding places the HubSpot form itself on your page: submissions go straight to HubSpot and bypass Webflow's processing. Mapping keeps your native Webflow form in place and sends a copy of each submission to HubSpot, so the design stays exactly as you built it in Webflow but submissions still flow through Webflow's servers.
Sources
- Connect HubSpot and Webflow: Webflow's official quick-connect guide
- HubSpot app listing: Webflow Apps marketplace
- Style and embed HubSpot forms on an external site: HubSpot Knowledge Base
- Install and use the HubSpot App: Webflow Help Center
For the bigger platform picture, see our complete HubSpot platform guide for business growth.
Vantage Point is a boutique CRM consulting firm helping businesses transform with Salesforce, HubSpot, and AI. Learn more at vantagepoint.io.